1. Consider the Direction of the Lines
・Follow the Shape of the Object
Draw lines that follow the contours or outlines of the object you’re coloring. This technique enhances the natural sense of three-dimensionality.
Example: For a round object, use curved lines to emphasize its roundness.
・Create a Flow
For subjects like hair or fabric folds, draw lines in the direction of their natural flow to make the depiction more realistic.
2. Vary the Thickness of the Lines
・Use Thin and Thick Lines Appropriately
Thin lines create a delicate impression, while thick lines emphasize areas of importance.
Example: Use thin lines for leaf veins and thicker lines for the petals to make them look fuller.
・Adjust the Density of the Lines
Build up the color by layering thin lines instead of filling areas all at once. This technique allows for better control over the shading and creates smooth gradients.
3. Use Hatching Techniques
・Hatching (Parallel Lines)
Draw parallel lines in one direction to add shading. Increase the density of the lines for darker areas or space them out for lighter tones.
・Cross-Hatching (Intersecting Lines)
Draw lines in multiple directions to create a denser, more pronounced shadow. Use this for areas requiring stronger depth or dimension.
4. Adjust the Length of the Lines
・Short Lines for Texture
For textures like hair or grass, use short strokes drawn repeatedly to achieve a realistic effect.
・Long Lines for Smoothness
For smooth and glossy surfaces like glass or metal, use longer, uninterrupted strokes in one direction for a clean finish.
5. Make Use of Overlapping Lines
・Create Soft Boundaries
Overlapping lines can help blend colors, removing harsh boundaries between different tones.
・Mix Colors Creatively
For example, when blending blue and red, draw overlapping lines in different directions to achieve a natural and seamless color mix.
6. Blur the Lines
・Smudging for a Blended Effect
If the lines appear too prominent, gently rub them with your finger, tissue, or a cotton swab to create a softer look.
・Use a White Pencil for Smoothing
Lightly go over the lines with a white colored pencil to blend them together, resulting in a more uniform and polished appearance.
Practical Examples
Grass
Draw upward strokes to mimic the look of blades of grass. Vary the length of the strokes randomly.
Use green as a base color, then add yellow and darker green to create depth and a realistic texture.
Wood Grain
Follow the natural flow of the wood grain with thin lines.
Add slight curves and variations in line thickness to make the texture more realistic.
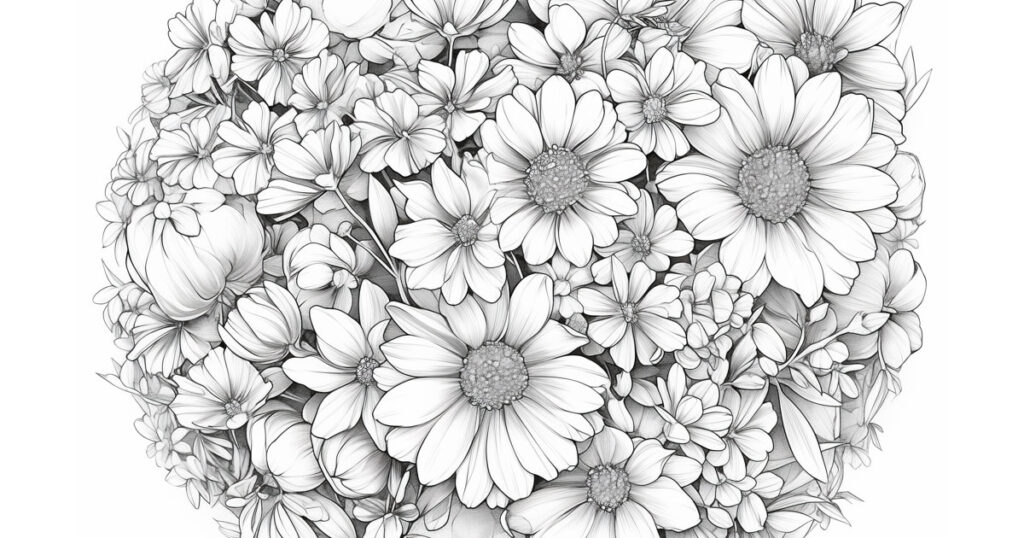
Flower Petals
Draw lines from the center of the petal outward to simulate its delicate texture and natural curvature.
By mastering these techniques, you can use lines not just for filling areas but as a powerful tool to add depth, texture, and realism to your coloring. Have fun experimenting!


If you want to learn how to paint better, check out the following articles.
-

Adult Coloring – Why Is It So Popular?
-
Let’s work on the paint line.
-
Basic Tips for Coloring Beautifully with Colored Pencils
-
Basic Colored Pencil Techniques for Beautiful Results
-
Unlock Your Child’s Potential! 5 Surprising Benefits of Coloring
-
How to Create Vibrant and Deep Colors with Just 12 Colored Pencils


Comments